Studio Conversion part 5.
So I have been asked if my studio is finished yet..
The answer.. I wish!
I bit off more than I could chew this year. And it decided to bite back..
I thought this would be finished by October (I started in February)..
So whats happened since then?
I boarded out the stud wall with plasterboards and cut holes for all the electrical sockets and phone points and whatnot.
Figuring out exactly where to cut an opening for a socket in a large sheet of board before attaching it to the wall is tricky.
Answer wet the edge of the metal socket box, offer the uncut board to it, take it down and cut where the wet marks are on the board..
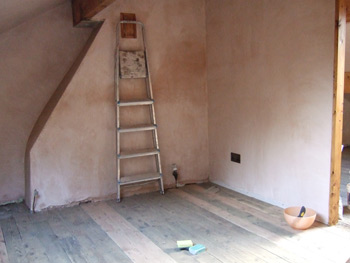
I then boxed in around the windows with wood. The previous people had used hardboard.. That wasnt going to cut it for me so pine it was. Stained to match the old pine in the floor. This job was the seemingly simplest and in actuality the most difficult to achieve. It took two weeks. I had not realised just how many odd angles there were in this room. Everything is doing its own thing in at least three dimensions if not more..
The plasterer came many weeks later and took about a week to rebuild the removed old plaster over the bricks and then skim the whole attic.
It now feels like a room.
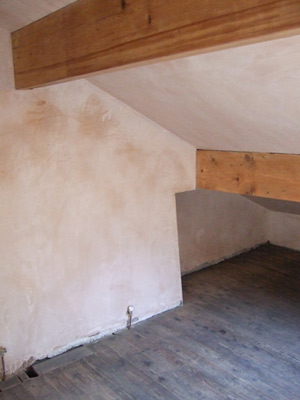
Then whilst it was taking a month for all the plaster to dry out properly I removed all the dodgy old busted floorboards and replaced them with new one. When I say new ones, the wood was reclaimed victorian pine which had been cut to size and thinchness to mach the old boards. It was frighteningly expensive. But its much denser than new pine is.. You can see the replaced boards in the second photo. I swapped out about 22 meters of boards in the end. And did lots of filliting on other gaps. The new boards need staining down to match the patina of the old boards. I didnt throw the old boards out. I cut them all down widthwise to get rid of all the busted edges and de-nailed them all and scrubbed them all and sanded them all. And built an improved ballustrade for the staircase from them.
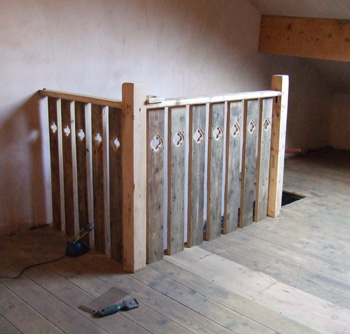
It’s kind of a Voysey styled attempt. The overall look of the room will be Arts & Crafts movement with some Victoriana and Steampunk mixed in. The posts and handrails need staining down to match the old pine as I was required to sand them back very hard to remove all the layers of paint from them. The handrails are the old cross pieces from the original ballustrade. I am very pleased with how this went. Its the first bit of creativity in the room and the first thing thats not just been hard slog.
By the way, whilst I was doing this I have compleatly redone the master bedroom too as well as all the pieces for a solo show..
I would like a break now please..
But no it goes on..
(more to come)