How to make a Monster
I have a new range of figures in the works and I thought I would post a peek at how they were made.
I work out the overall look on paper with a pencil first, figuring out the look of the figure. As I am making the prototype I dont need to do detailed turnaround views for another sculptor to work from. So I dive right into the build..
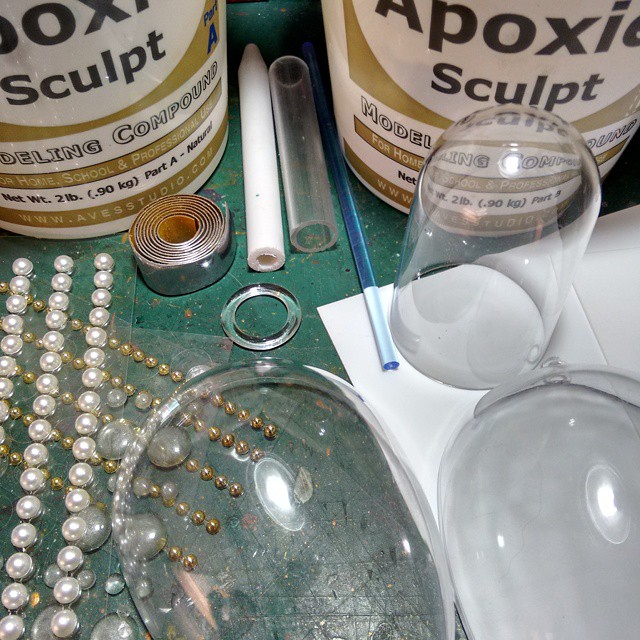
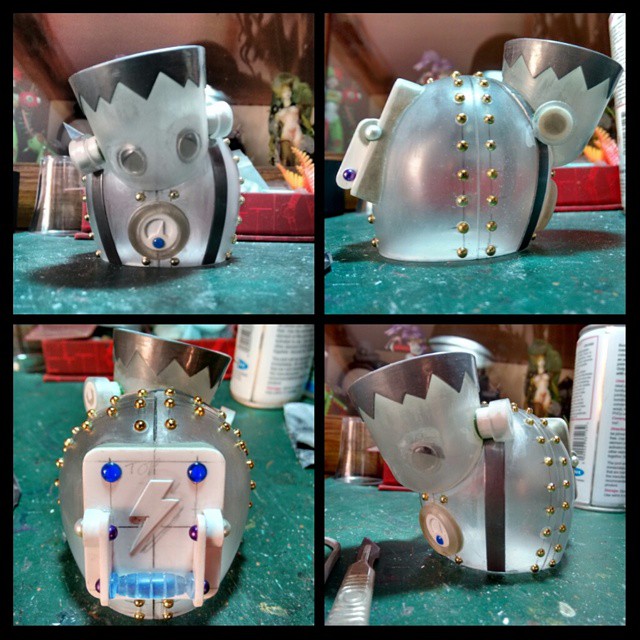
This is what I am using for my prototype master sculpt. More of a construct than a sculpt.
Acrylic geometric forms. Styrene sheet. Acrylic and styrene rod and tube. Lead tape. Some plastic hemispheres. And some epoxy putty to fill the gaps.
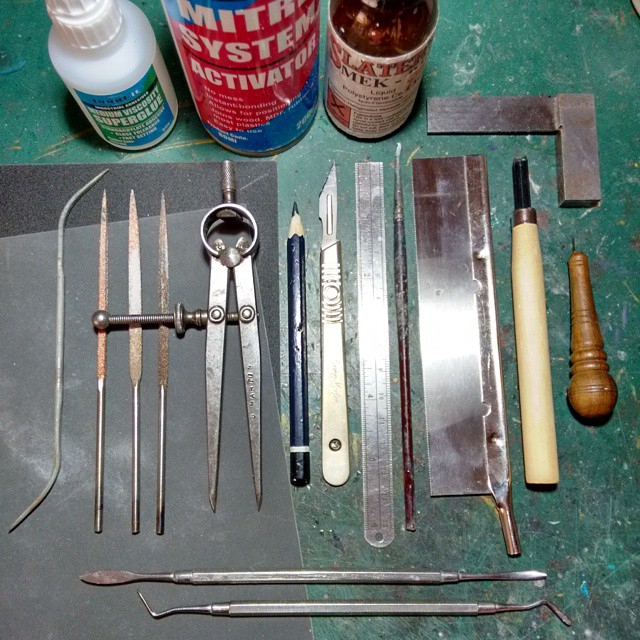
My tools for this job. All hand tools apart from a mini power Proxxon drill (not shown) for bulky cutting and sanding, of which there is not much. As I am mostly using acrylic and styrene I am chemically welding more than gluing. Using dichloromethane.
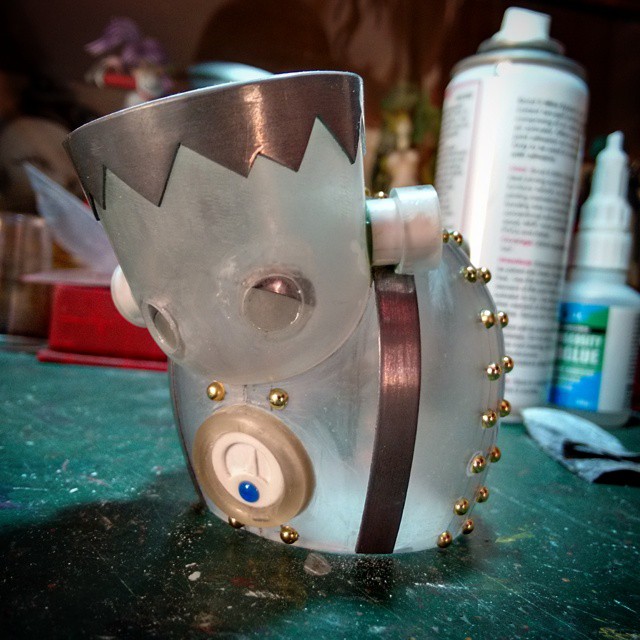
Basic form built, with most gaps plugged with filler. Some rub down and finishing required before molding but he came together nicely. Three days work so far.
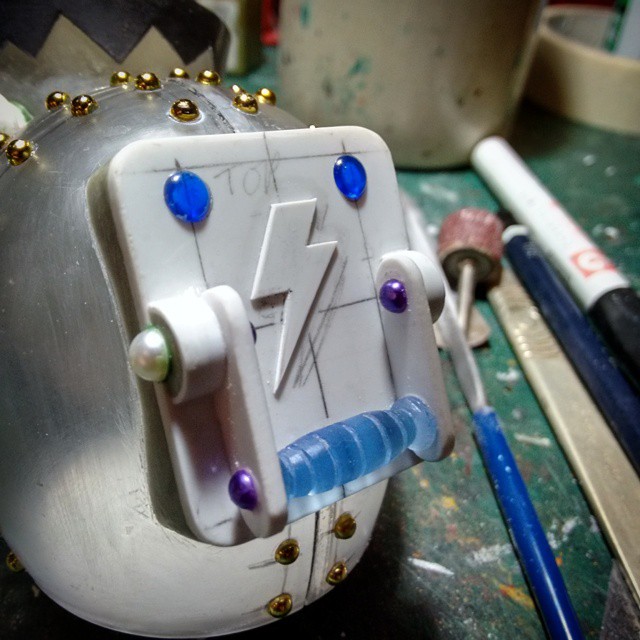
The switch on the back of the figure. I turned the handle grip from acrylic tube held in my mini drill chuck like a tiny lathe.
Some more views of the figure.
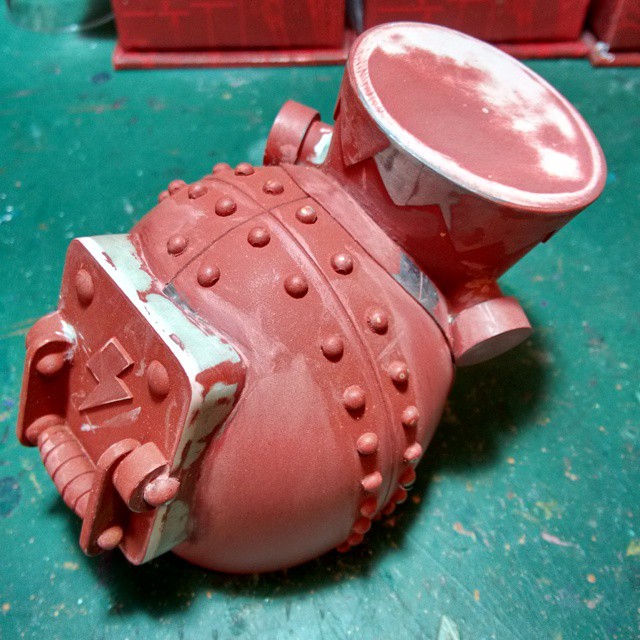
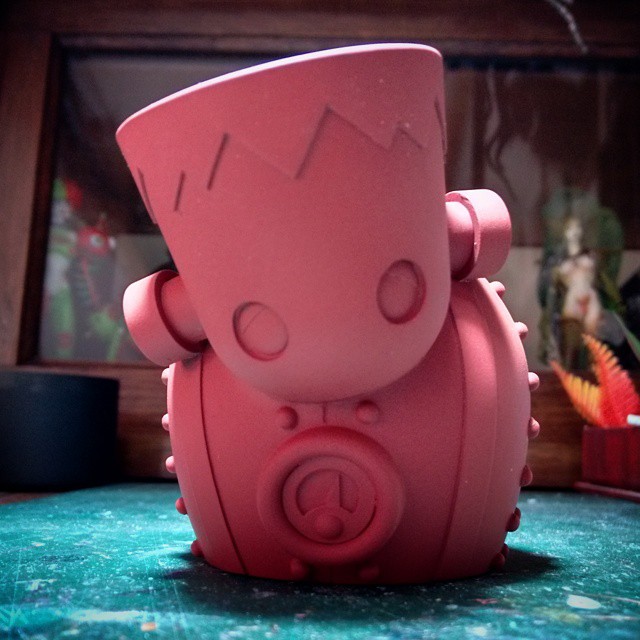
A couple of coats of primer and some rubbing down to get the best surface finish possible.
I use automotive acrylic paint mostly. A couple of coats of “Filler Primer” first. This is a high build primer that is great for filling any tiny indents or scratches in the surface. You can get a nice even surface with this, then move onto the regular primer.
Rubbing down is about 50% of modelmaking.
This will need another pass before it’s ready.
All finished and ready to send off to the casters. I wont be hand casting these myself. I know people who are set up specifically for that job and they are faster and better at it than I am..
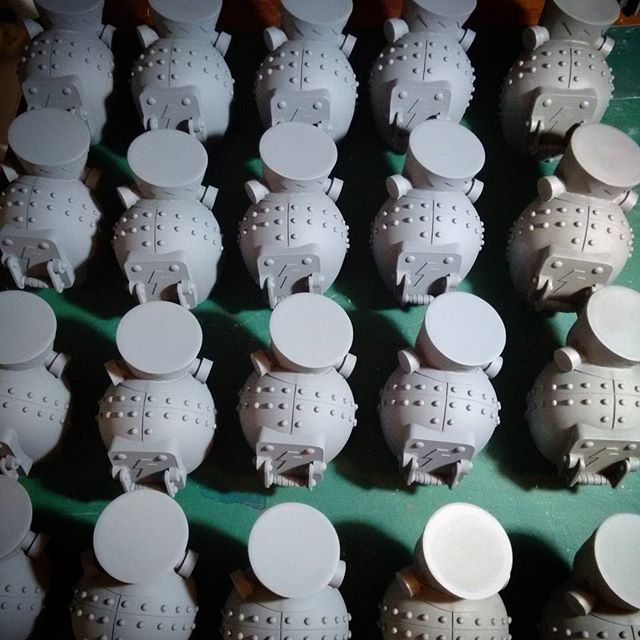
And here is a small army of resin castings. I have filled any tiny air holes and primed these ready for painting…
More info on this new series coming very soon.
Watch my social media pages or this blog for info..
